Showing posts with label Valentines. Show all posts

"You'll Never Get To Heaven if You Break My Heart" - A Versatile Lantern For the Seasons Valentines Edition

Sunday, February 7, 2016


So...
just maybe you're wondering about the snazzy title of this post?

For an early Valentines Day Celebration,
Mr. Ramblings and I went to see the Stylistics in concert Friday night.


These guys might be in their sixties, 
but they've still got it going on... amazing vocals and smooth dance moves!

One of their many hit wonders,
 "You'll Never Get To Heaven if You Break My Heart,"
has been running through my mind as I prepared this post... hence the title.
Hearts... Valentines... you get the picture, right?  :)

Back in late November, my post, A Versatile Lantern For The Seasons,
featured the lantern below I found at Ollie's, dressed for Christmas...


...and Fall.


As I was scoping out the Christmas ornaments during the annual
 New Years Day Sale at Dillards, I ran across the pretty glass hearts, below.
They were originally $7.00, but at 75% off, only cost $1.75 each.
I purchased a few, with updating the lantern in mind for Valentines.


To complete the look, 
I added a bag of crumpled brown paper package filler from Dollar Tree,
and a sprig of greenery from Michaels (half price).


Reused the bow from Christmas, just tucked the greenery above and below it.


On the foyer table, the lantern was paired with a sweet, small Waterford Vase
 filled with Baby's Breath, and a cut-glass sphere.


 Illuminated by the glow of a little lamp lighting...


A sneak peek of the ribbon I bought at the Salvage Sister's Show a couple of weekends ago, 
inspiration for when it comes time to style the lantern for Easter/Spring, stay tuned...


But in the meantime,
I'll leave you with this little poem...

Roses are red,
 Violets are blue,
My life is blessed because you are here, that has to be said,
and I hope you all have a Happy Valentines, too!
~Rhonda


______________________

Sharing Post At:
Between Naps On The Porch - Met Monday
Cozy Little House - Tweak it Tuesday
Stone Gable - The Scoop
Our Home Away From Home - Tuesdays at Our Home
Coastal Charm - Show and Share
Savvy Southern Style - Wow Us Wednesday
Woods of Bell Trees - Party in Your PJs
Currently Kelsie - The Alder Collective Link
From My Front Porch To Yours - Treasure Hunt Thursday
Poofing the Pillows - Thoughts of Home on Thursday
McCall Manor - Your Inspired Design
My Thrift Store Addiction - Vintage Charm Party
A Burst of Beautiful - Create, Share, Inspire
Rattlebridge Farm - Foodie Friday & Everything Else
Ms. Toody Goo Shoes - Best of the Weekend
The Dedicated House - Make It Pretty Monday

Simple Valentines Tree & Burlap Wreath

Sunday, January 20, 2013


My Christmas decorations are all down, and have at least made it as far as the garage.
And my house is somewhat in order, at least it appears so on the surface (closets don't count! ha).
That's a good thing, right?

But I still can't quite get into the swing of things,
like organizing (closets, attic, laundry room, garage, etc.)
or remembering where everything is, or should go!

It usually takes me until February each year to get my bearings!  

So, what does this rambling have to do with this post...

I can't find my Valentines Decorations!
nada...nowhere...

And I just refuse to go buy more,
'cause eventually they will show up,
maybe by Easter, or Fourth of July,
but eventually...


So, what's a girl to do in the meantime...
Use what she has on hand ...be creative,  be frugal!


From a large supply of scrap book paper,
I cut simple hearts, and used fishing line to hang them from branches 
spray-painted with leftover white paint.


The "base" of the Valentines Tree was from my Collection of Ironstone Pitchers.
I purchased the one below, at a yard sale of an elderly lady friend,
who said the pitcher was her mother's and well over 100 years old!

The red raffia filler was left over from my Dollar Tree Candlesticks Project.
{previous post}


Next on my agenda for Valentine Decorations was a wreath for my Pantry Door...


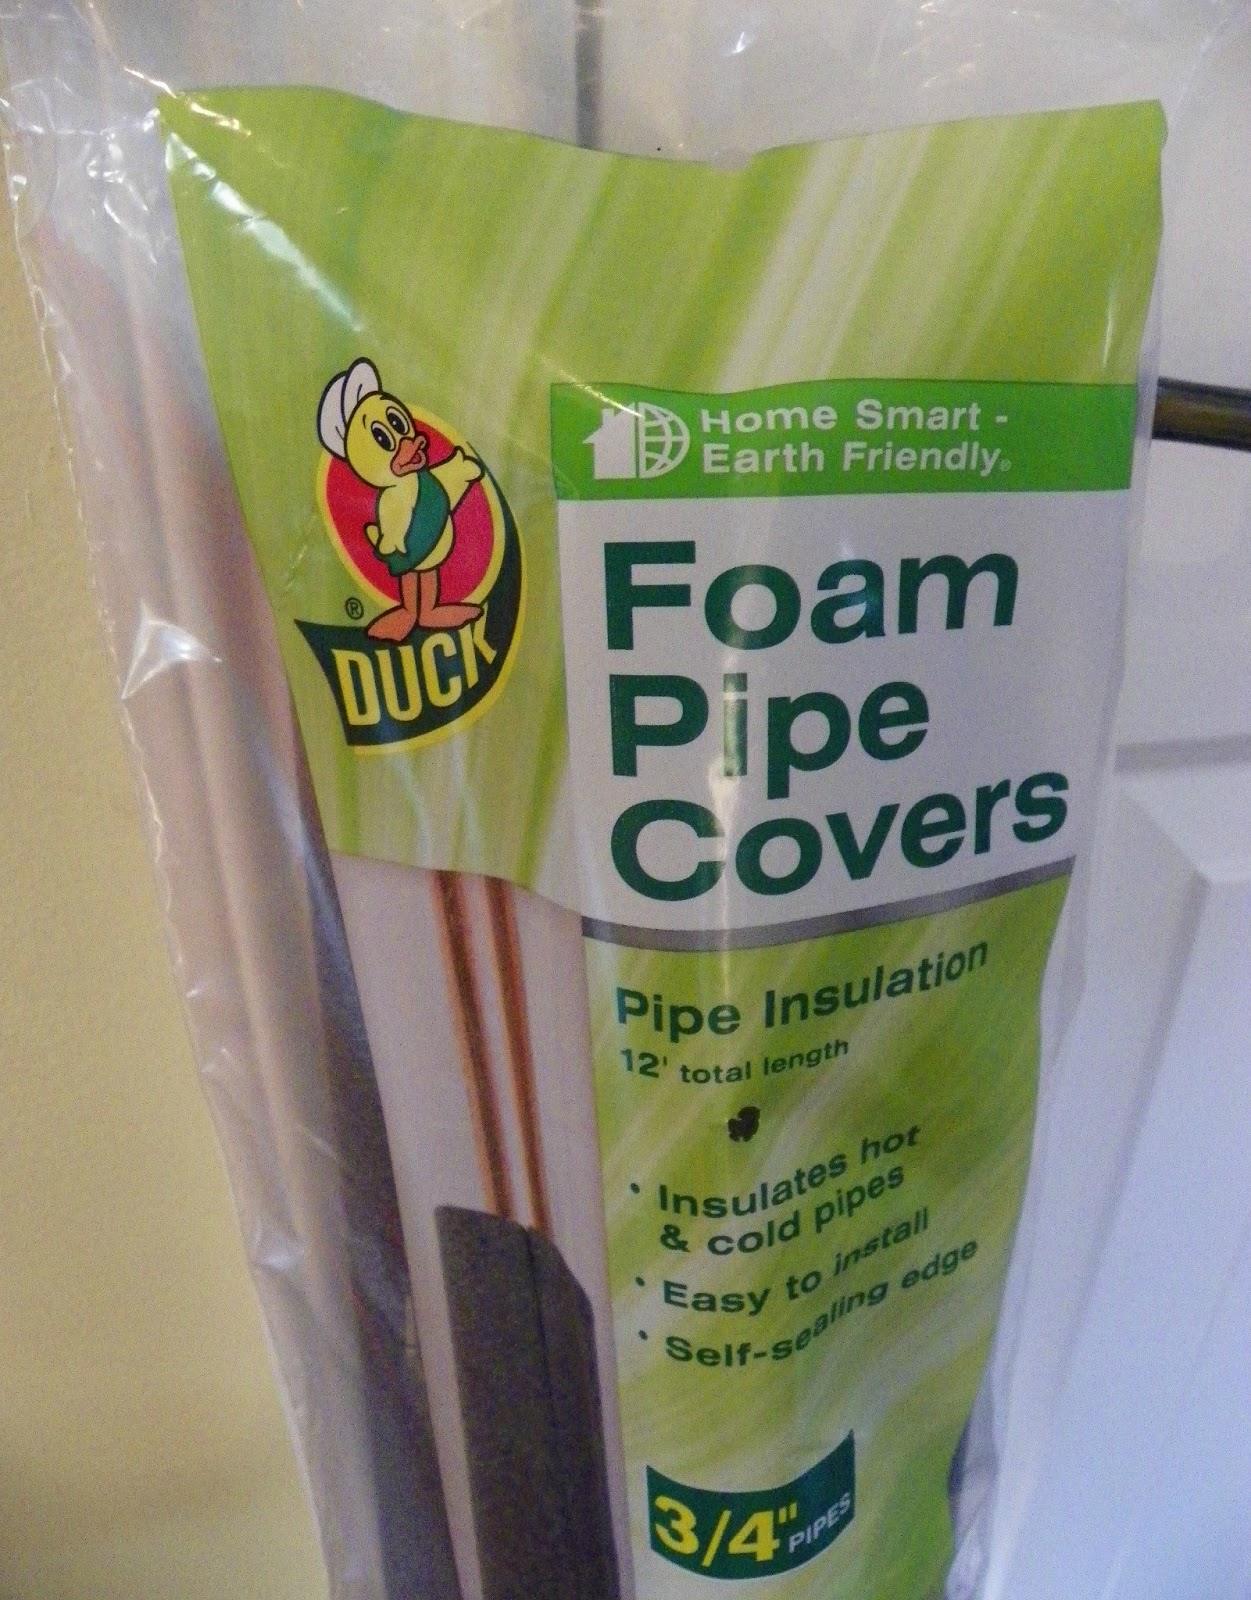
For the form of the wreath, I started with Foam Pipe Covers.
{Four in a pack, for less than $3.00}


One foam cover wasn't long enough, so I added about 2/3's of another piece.

I tried hot-gluing the ends together, but the hot-glue literally ate away the foam.
I connected the pieces and secured them with duct tape,
which was probably a better choice all around.

After I completed the form,
I cut long strips of burlap to wrap around it to "pretty it up."
I used Aleene's Clear Quick Dry Tacky Glue to secure the ends,
and did two layers of burlap to cover the foam form well.


Gathering strips of burlap to make rosettes was really easy!
I selected a strand of "string" about 3 up from the bottom of the burlap strips,
and pulled to create gathers.
But beware, pull the string very slowly and gently, or it will break!

Once gathered, I rolled the strips into the shape of a rosette, securing them with hot-glue.


The open-grid burlap ribbon, below, was left over from Fall projects.
The rosettes were hot-glued, along with the bow, to the form.

(The red burlap and ribbon was found at Hobby Lobby.)


Sisal Twine was used to hang the wreath,
and being that the wreath is so light,
the twine was just draped over the door, and duck taped to the back side.


Just in case you're new to my blog,
I'll round up pictures later in the week of last year's decorations and share them.

But in the meantime,
I'm actually quite pleased with my simple, cheap frugal ones!  :)
My search has been suspended and I'm enjoying what I have!


_______________________________________


Linking Post To:
Metamorphosis Monday @ Between Naps on the Porch
Nifty Thrifty Tuesday @ Coastal Charm
Tabletop Tuesday @ A Stroll Thru Life
Wow Us Wednesday @ Savvy Southern Style
Be Inspired @ Elizabeth & Co
Be Inspired @ Common Ground
Open House Party @ No Minimalist Here

Frugal Valentine Decorating with Dollar Tree Crafts

Wednesday, January 16, 2013

I {heart} a party!
I {heart} crafting!
I {heart} a bargain!

And I really {heart} shopping!


So,
...I raided my local Dollar Tree for items
to create a fun and frugal Valentine's Project to share at
Debbie's and Shannon's


My creation,
Frosted Valentine Candleholders...


Below, are most of the items I started with,
all from the Dollar Tree, "where everything is $1.00!"


Plus, I threw in a can of Valspar Frosting Spray Paint to the mix.

I found the paint before Christmas at Lowe's, and I've been dying to try it on ...something!


First, I cut out a heart, with brand-spanking new, "not dull yet" DT scissors! :)


I traced two hearts on DT vinyl adhesive shelf liner.


Adhered the hearts to the glass cylinders,
{easy, peasy since they were self-stick},
hot-glued the candlesticks to the bottom of each,
and sprayed them as one unit, with the Valspar Frosting Spray Paint.


Chalk board tags were crafted,
from pre-cut DT Wedding Paper Tags,
and Chalk Board Paint.

The white ribbons were removed from the tags, and replaced with DT red rafia string.


The candle holders were filled with Jasmine scented Bath Salts.
I checked the package to see if the salts were flammable.
I didn't see a disclosure,
 so personally, I would use with caution and not leave unattended while the candles are lit.
{Use at your own risk....}

But even when the candles aren't lit,
the Jasmine Salts have a wonderful, clean fragrance.

My husband remarked how the house smelled of clean laundry,
{and there was none! ha!}

The cute little scattered hearts were from Dollar Tree, as well!


I included a few shots of alternative ways to use the candleholders,
...first, without the tags, and with a few hearts dropped inside...


...or for a more streamlined look,
keep the tags, but use white candles!


For more super cute and budget-friendly Valentine Ideas,
head over to Fox HollowDebbiedoos' Party!
____________________________________


Also Linking Post To:
Tutorial Tip and Tidbits @ Stone Gable
Creative Inspirations @ Embracing Change
Be Inspired @ Common Ground
DESIGNED BY ECLAIR DESIGNS